Table of Contents
- Understanding MySQL User Management
- Setting Up a MySQL User
- Granting MySQL User Permissions
- Modifying and Revoking MySQL User Permissions
- Managing Remote Access and Security
- Troubleshooting Common MySQL User Issues
- Conclusions
Understanding MySQL User Management
Managing MySQL users effectively is key to ensuring database security and administrative control. It allows database administrators to control who can access the database and the actions they are authorized to perform. Proper user permission management helps keep your MySQL database secure while granting users the appropriate rights to complete their tasks. Without this management, the database may be exposed to unauthorized access or accidental data changes.
The core of MySQL user management is built around authentication and permissions. MySQL uses user accounts, each consisting of a username, password, and a designated host that defines where the user can connect. After a successful login, users are assigned various privileges, such as creating databases, querying data, inserting records, and more.
The MySQL root user has full control over the database, providing unrestricted access to all databases and full authority over user accounts and their permissions. However, it’s recommended not to use the root account for regular database tasks, as this increases the likelihood of accidental or malicious changes. Administrators should create other user accounts with more defined roles to reduce these risks.
MySQL employs authentication plugins to verify a user’s identity. The default plugin, caching_sha2_password, offers strong encryption and is typically the recommended choice for most use cases. MySQL also supports additional plugins, like auth_socket, which uses the operating system for identity verification. Selecting the right authentication method is vital for maintaining a proper balance between security and functionality.
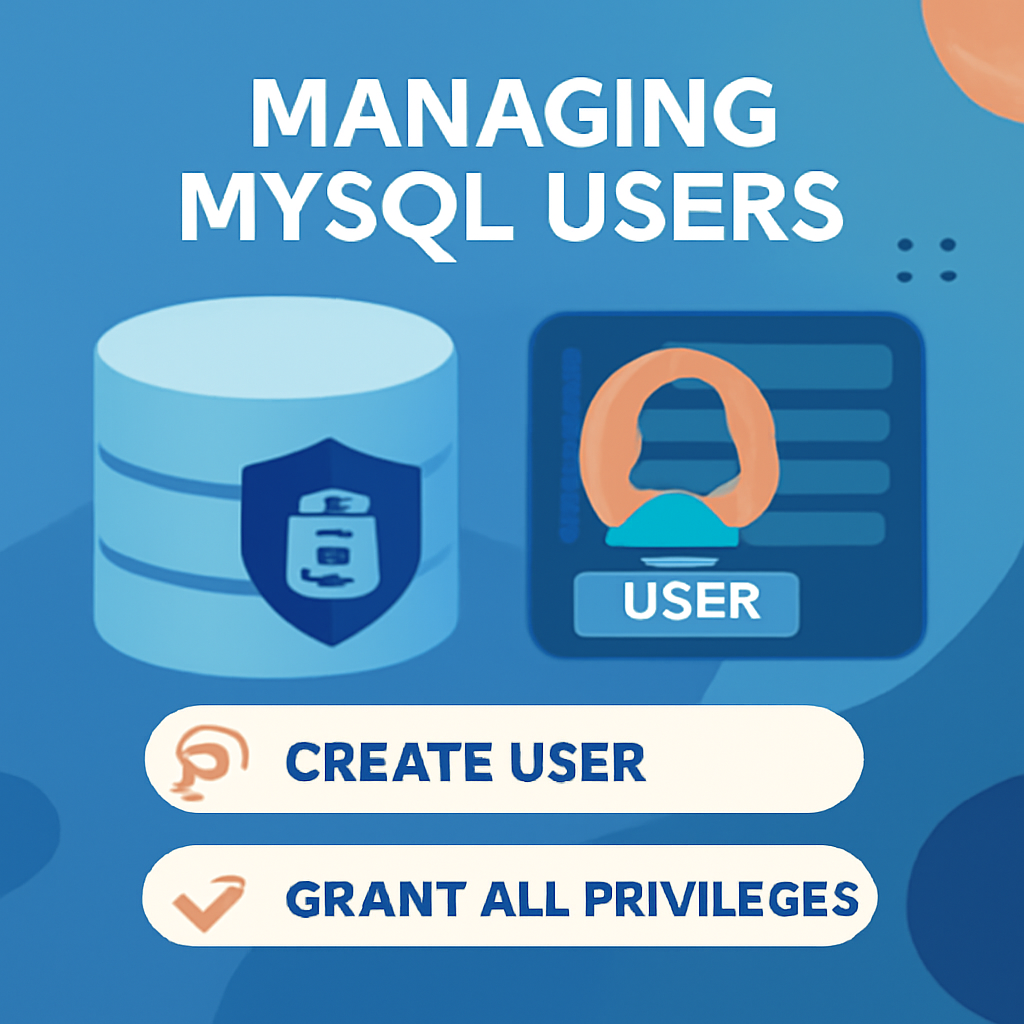
Setting Up a MySQL User
To create a new MySQL user, you can use the CREATE USER statement. The command syntax is as follows:
CREATE USER 'username'@'host' IDENTIFIED WITH authentication_plugin BY 'password';Here, username is the name of the user you want to create, and host specifies the location from which the user can connect. Use localhost for local connections and % for any host to enable remote access.
Choosing the correct authentication_plugin is essential when setting up a user. By default, MySQL uses the caching_sha2_password plugin for secure password management. To create a user with this plugin, use the following command:
CREATE USER 'sammy'@'localhost' IDENTIFIED BY 'password';If you’re using older versions of MySQL or specific PHP applications, the mysql_native_password plugin may be necessary for compatibility. In this case, the CREATE USER statement will look like this:
CREATE USER 'sammy'@'localhost' IDENTIFIED WITH mysql_native_password BY 'password';Alternatively, MySQL can be configured to use the auth_socket plugin, which doesn’t require a password and instead uses the operating system’s user identity for authentication. This is a more secure choice for local servers. The statement for creating a user with the auth_socket plugin is:
CREATE USER 'sammy'@'localhost' IDENTIFIED WITH auth_socket;When choosing an authentication method, take both security and compatibility into account. For most situations, caching_sha2_password offers the best security, but for older systems or applications, mysql_native_password or auth_socket might be better choices.
Once the user is created, the next step usually involves granting them the appropriate permissions, which will be discussed in the next section.
Granting MySQL User Permissions
To grant permissions, you can use these commands:
GRANT PRIVILEGE ON database_name.table_name TO 'username'@'host';GRANT SELECT ON database_name.* TO 'username'@'localhost';GRANT ALL PRIVILEGES ON *.* TO 'username'@'localhost';GRANT SELECT, INSERT ON database_name.* TO 'username'@'localhost' WITH GRANT OPTION;Modifying and Revoking MySQL User Permissions
To modify user permissions or change authentication methods, use these commands:
ALTER USER 'sammy'@'localhost' IDENTIFIED WITH mysql_native_password BY 'new_password';GRANT SELECT, INSERT, DELETE ON database_name.* TO 'sammy'@'localhost';REVOKE SELECT ON database_name.* FROM 'sammy'@'localhost';SHOW GRANTS FOR 'sammy'@'localhost';Managing Remote Access and Security
To enable remote access with specific privileges, use commands like these:
GRANT ALL PRIVILEGES ON *.* TO 'sammy'@'%' IDENTIFIED BY 'password';GRANT ALL PRIVILEGES ON *.* TO 'sammy'@'192.168.1.100' IDENTIFIED BY 'password';Also, ensure the MySQL server is configured to listen on all interfaces by setting:
bind-address = 0.0.0.0After that, restart MySQL with the following command:
sudo systemctl restart mysqlTroubleshooting Common MySQL User Issues
If you’re facing issues with user permissions or authentication, you can check for common problems using these commands:
GRANT ALL PRIVILEGES ON *.* TO 'username'@'%' ;SELECT * FROM mysql.user WHERE User = 'username';DROP USER 'username'@'localhost';Conclusions
By following this guide, you’ve learned how to securely create MySQL users, assign the appropriate permissions, and manage user access effectively. Proper MySQL user management is critical for maintaining both security and optimal database performance. As your project grows, you will need to consider scalability, performance, and flexibility when managing MySQL users and access.
If you’re aiming to scale your infrastructure as your MySQL database grows, a cloud solution like Caasify can offer considerable benefits.
How to Leverage Caasify:
Step 1: Choose a Caasify Cloud VPS (Virtual Private Server) to host your MySQL database. Caasify’s VPS offers full control over resources and supports various operating systems, including Ubuntu and AlmaLinux, for seamless MySQL hosting.
Step 2: Set up your MySQL server on the chosen OS after configuring your VPS. This setup lets you create, modify, and manage user accounts with full administrative privileges, and you can also configure automatic backups to ensure data security.
Step 3: If you’re managing multiple websites, you might want to consider using Caasify’s web hosting with DirectAdmin or cPanel to simplify site and MySQL user management. The hosting integrates smoothly with databases and provides an intuitive interface to monitor and update server configurations.
Benefit of Caasify: With Caasify’s versatile cloud services, you can scale your infrastructure as required, ensuring that your MySQL database and web applications perform efficiently while keeping full control over security and resources.
.faq-container {
margin: 20px auto;
padding: 15px 20px;
background: #fafafa;
border-radius: 12px;
box-shadow: 0 4px 10px rgba(0,0,0,0.05);
box-sizing: border-box;
}
.faq-item {
border-bottom: 1px solid #ddd;
}
.faq-item:last-child {
border-bottom: none;
}
.faq-question {
margin: 0;
padding: 15px;
color: #2c3e50;
cursor: pointer;
background: #f0f0f0;
border-radius: 8px;
transition: background 0.3s;
display: flex;
align-items: center;
justify-content: space-between;
}
.faq-question:hover {
background: #e0e0e0;
}
.faq-text {
flex: 1;
text-align: left;
}
.faq-icon {
flex-shrink: 0;
margin-left: 12px;
color: #555;
transition: transform 0.3s ease;
}
.faq-item.active .faq-icon {
transform: rotate(90deg);
}
.faq-answer {
max-height: 0;
overflow: hidden;
transition: max-height 0.4s ease, padding 0.3s ease;
padding: 0 15px;
color: #555;
line-height: 1.6;
}
.faq-item.active .faq-answer {
max-height: 500px;
padding: 10px 15px;
}
@media (max-width: 600px) {
.faq-container {
padding: 10px 15px;
}
.faq-question {
padding: 12px;
}
}
How do I create a new MySQL user with a password?
▶
Use the CREATE USER 'username'@'host' IDENTIFIED BY 'password'; statement. Replace 'username' with the desired username, 'host' with the host from which the user will connect (e.g., 'localhost'), and 'password' with a strong password. Ensure the host matches the user’s connection source to avoid access issues.
What are the default authentication plugins in MySQL?
▶
As of MySQL 8.0.27, the default authentication plugin is caching_sha2_password. For compatibility with older applications, mysql_native_password can be used. Choose the appropriate plugin based on your application’s requirements and compatibility.
How can I grant specific privileges to a MySQL user?
▶
Use the GRANT statement: GRANT SELECT, INSERT ON database_name.* TO 'username'@'host'; Replace 'database_name' with the target database, and 'username' and 'host' with the user’s credentials. Always follow the principle of least privilege.
How do I revoke privileges from a MySQL user?
▶
Use the REVOKE statement: REVOKE SELECT ON database_name.* FROM 'username'@'host'; This removes the specified privileges. After revoking privileges, execute FLUSH PRIVILEGES; to apply changes immediately.
How can I check the privileges of a MySQL user?
▶
Use the SHOW GRANTS FOR 'username'@'host'; statement. This will display all privileges granted to the specified user. Ensure you’re logged in with an account that has sufficient privileges to view this information.
What should I do if a MySQL user cannot connect?
▶
Verify the user’s credentials and host permissions. Ensure the user exists with SELECT User, Host FROM mysql.user;. Check for any host restrictions or IP address mismatches. Also, confirm that the MySQL server is configured to accept connections from the user’s host.
How do I delete a MySQL user?
▶
Use the DROP USER 'username'@'host'; statement to remove a user. Ensure that the user is not connected to the database before deletion. After dropping the user, execute FLUSH PRIVILEGES; to apply changes.
What is the principle of least privilege in MySQL user management?
▶
The principle of least privilege involves granting users only the permissions they need to perform their tasks. This minimizes the risk of accidental or malicious data manipulation. Regularly audit user privileges and adjust them as necessary.
How can I manage MySQL user roles?
▶
In MySQL 8.0 and later, use the CREATE ROLE statement to define roles, and GRANT to assign privileges to these roles. Assign roles to users with GRANT 'role_name' TO 'username'@'host'; This simplifies privilege management and enhances security.
document.querySelectorAll(‘.faq-question’).forEach(q => {
q.addEventListener(‘click’, () => {
const item = q.parentElement;
item.classList.toggle(‘active’);
});
});

Caasify Team contributes technical and infrastructure-focused content to the Caasify blog.
Cloud VPS
High-performance NVMe instances with instant global deployment.
Web Hosting
Secure & Managed
VPN Services
Pay-As-You-Go Privacy